


How to Lay Block Paving: A Comprehensive Guide
Block paving is a popular choice for creating attractive, durable surfaces for driveways, patios, and walkways. It offers a versatile and aesthetically pleasing option that can enhance the look of any outdoor space. This guide provides detailed instructions on how to lay block paving, ensuring a professional finish. Follow these steps to achieve a beautiful and lasting result.
Preparing the Area
Before you begin laying block paving, it’s essential to prepare the area properly. Start by marking out the area where the paving will be laid. Use string lines and wooden pegs to create a clear boundary. Ensure that the lines are straight and the corners are at right angles. Next, remove any existing turf, plants, or old paving materials. You’ll need to dig down to a suitable depth, typically around 150-200mm, to accommodate the sub-base, sand, and blocks. Ensure that the base is level and compacted, as this will form the foundation of your paving.
Creating the Sub-Base
The sub-base is a crucial layer that provides stability and prevents movement of the paving blocks. Use a material such as MOT Type 1, which is a mixture of crushed stone and gravel. Spread the sub-base material evenly over the area and compact it using a vibrating plate compactor. The depth of the sub-base should be around 100-150mm, depending on the intended use of the paved area. For driveways, a deeper sub-base may be required to support the weight of vehicles. Ensure that the sub-base is level and compacted before proceeding to the next step.
Installing the Edge Restraints
Edge restraints are essential for keeping the paving blocks in place and preventing them from spreading. Use concrete edging or kerb stones to create a solid border around the paved area. Set the edging stones in concrete to ensure they are secure and level. Make sure the edge restraints are aligned with the string lines you set up earlier. This will help maintain a straight and even edge. Allow the concrete to set before continuing with the next stage of the process.
Adding the Sand Layer
The sand layer, also known as the laying course, provides a bed for the paving blocks to sit on. Use sharp sand, which has angular grains that lock together well. Spread the sand evenly over the sub-base, aiming for a depth of around 30-50mm. Level the sand using a screeding board and a straightedge. Drag the screeding board across the sand to create a smooth, level surface. It’s important to get this layer as even as possible, as it will directly affect the finished appearance of the drive.
Laying the Paving Blocks
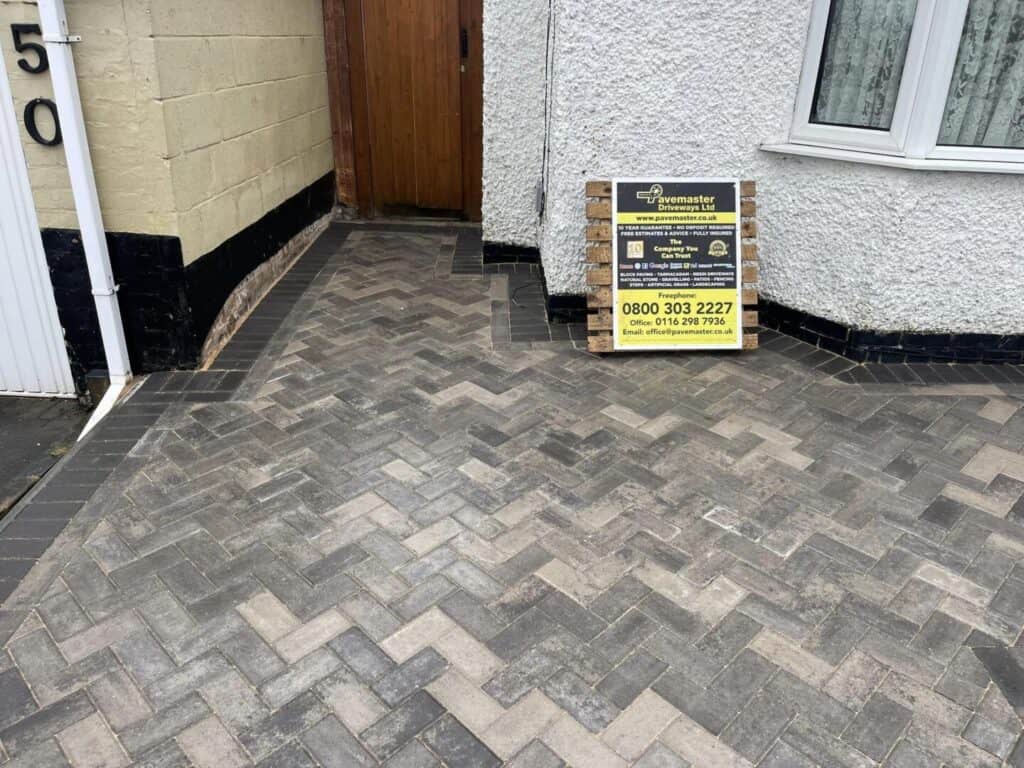
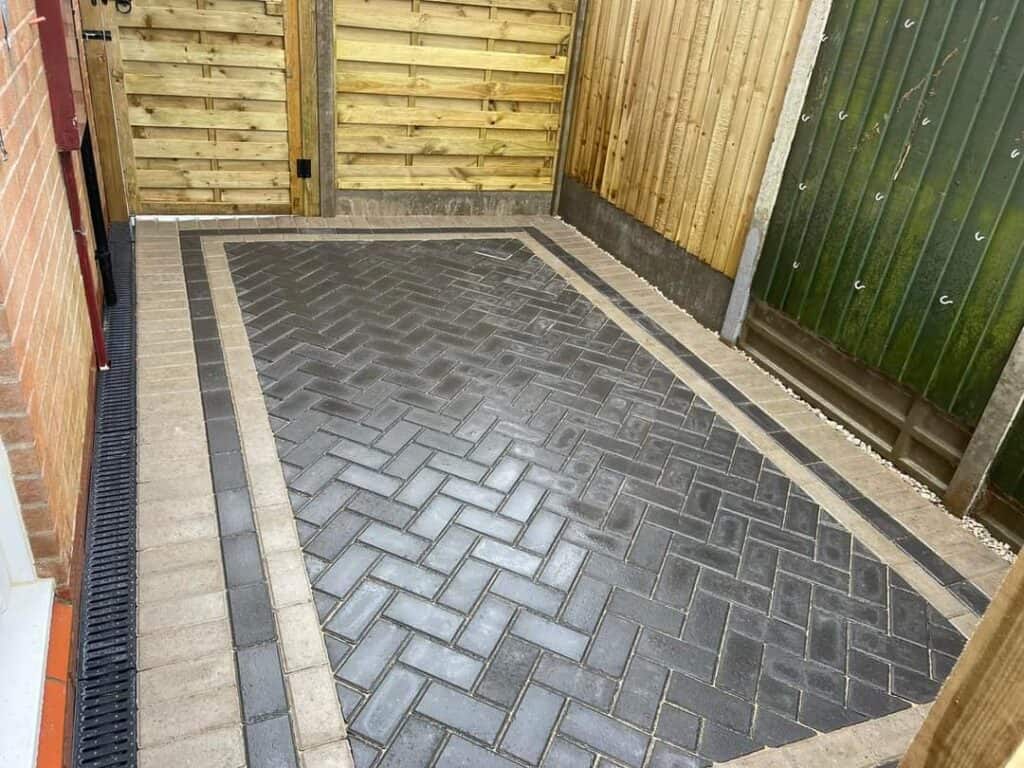
With the sand layer prepared, you can start laying the paving blocks. Begin at one corner and work your way outwards, placing each block carefully onto the sand bed. Ensure that the blocks are level and tight against each other, with consistent gaps. To create a neat pattern, consider using a herringbone or stretcher bond design. These patterns not only look attractive but also provide extra stability. Use a rubber mallet to tap the blocks into place and ensure they are level with the surrounding blocks.
Cutting the Blocks
In some areas, you may need to cut the blocks to fit. Use a block splitter or a power saw with a diamond blade to achieve clean, precise cuts. Always wear safety goggles and gloves when cutting blocks to protect yourself from dust and debris. Measure the blocks carefully before cutting to ensure a snug fit. Place the cut blocks into position, making sure they align with the surrounding blocks. Tapping them into place with a rubber mallet will help achieve a professional finish.
Filling the Joints
Once all the blocks are laid, it’s time to fill the joints. Use kiln-dried sand, which is fine and dry, allowing it to easily fill the gaps between the blocks. Spread the sand over the driveway and use a broom to sweep it into the joints. Continue sweeping the sand until all the joints are filled. This process may need to be repeated several times as the sand settles. Filling the joints helps lock the blocks together and prevents movement, ensuring a stable and durable surface.
Compacting the Surface
The final step in laying block paving for Driveways Loughborough is compacting the surface. Use a vibrating plate compactor to thoroughly compress the entire paved area. This process ensures that the blocks settle securely into the sand bed, creating a stable and level surface. Start at one end of the paving and systematically work your way across, making several passes with the compactor. It’s essential to check the levels frequently to maintain an even surface. After compacting, you may notice small gaps—simply add more kiln-dried sand to fill them and recompact if necessary.
Finishing Touches
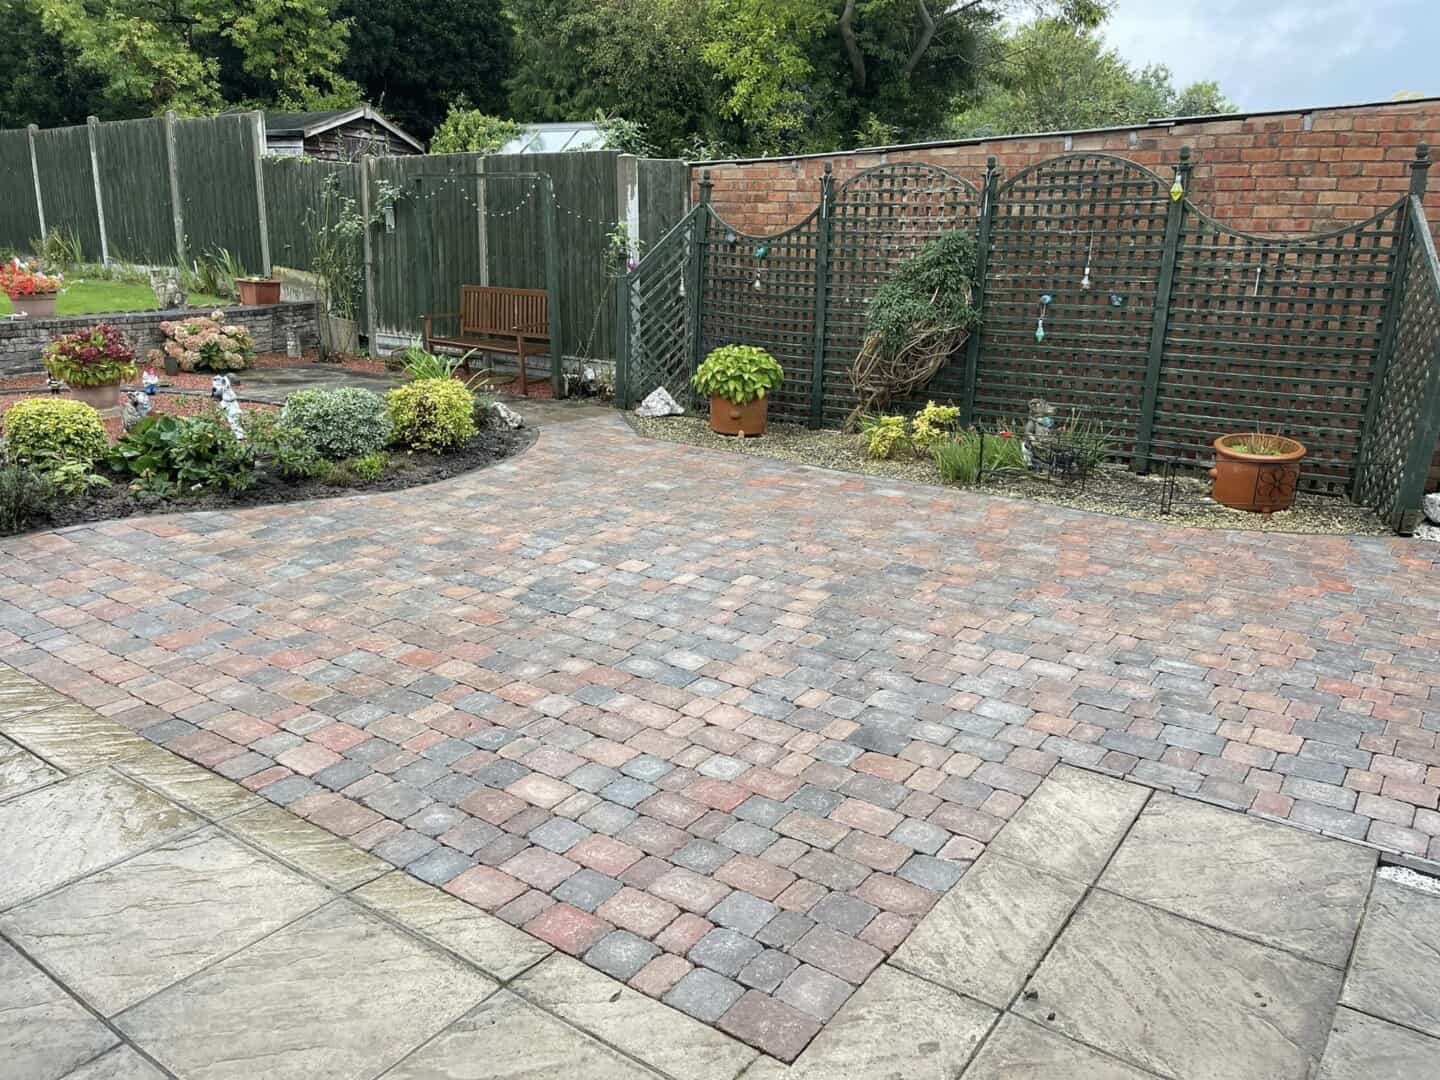
With your new driveway or patio completed, take a moment to appreciate your handiwork. Clear away any excess sand and debris, and consider applying a sealant to protect the surface from potential stains and adverse weather conditions. A quality sealant will not only enhance the appearance of the blocks but also extend their durability. To keep Driveways Loughborough, Driveways Hinckley, or Driveways Derby looking pristine, perform regular maintenance such as sweeping and re-sanding the joints when needed. With proper care, your paved surface will serve as an attractive and functional addition to your property for many years to come.
Contact The Experts At Pavemaster Driveways
Laying block paving is a satisfying project that can significantly upgrade the aesthetic and functionality of your outdoor area. By carefully following these steps and maintaining attention to detail, you can achieve a professional result that stands the test of time. Whether it’s for Driveways Loughborough, Driveways Hinckley, or Driveways Derby, block paving offers a versatile and appealing solution for various landscaping needs. If you’re unsure at any stage or require expert guidance, reach out to the team at Pavemaster Driveways. We are always here to offer advice and assistance to ensure your project is a success.